Smart Pet Robot
Smart pet robot for real-time home care psychotherapy
Smart Pet Robot was my first group project during my college years. Me and my two other friends made this robot to participate in a competition which is called Hanium in South Korea.
While there were a lot of troubles during the project, our competiton ended with a 4th place win! I’d like to briefly leave this meaningful and thankful project here even though it has already taken 2 years.

Me and my friends firstly downloaded 3D blueprint from the internet to make robot’s appearance. I remember the blueprint was from a youtube video that shows eye-tracking something (surprisingly, I can still find the video easily: Affective Robot-Eye tracking test ). We thought it would be cool if a robot has an eye-tracking system. However, as you can see the above picture, the robot looked kinda creepy at some point. So, we decided to change the appearance with a new design.


We discussed to make a perfect robot and finally sketched above picture. New design included LCD display to show emotion instead of eye-tracking. To be honest, I felt sad because I liked the little eye movements and I somehow completed the function. But it is what it is. We used a raspberry pi and 3.5 inch raspberry LCD display. The below code allows us to use the LCD on the raspberry pi.
sudo rm -rf LCD-show
git clone https://github.com/goodtft/LCD-show.git
chmod -R 755 LCD-show
cd LCD-show/
sudo ./LCD35-show
To put some facial expression video in the LCD, we downloaded animation from youtube (Robot Eye Expressions). The robot expression video was cut with blinking, smiling, and heart eyes. Under the normal state, it shows the blinking video, when the robot detects smile of user, it provides the smiling and heart eyes videos.
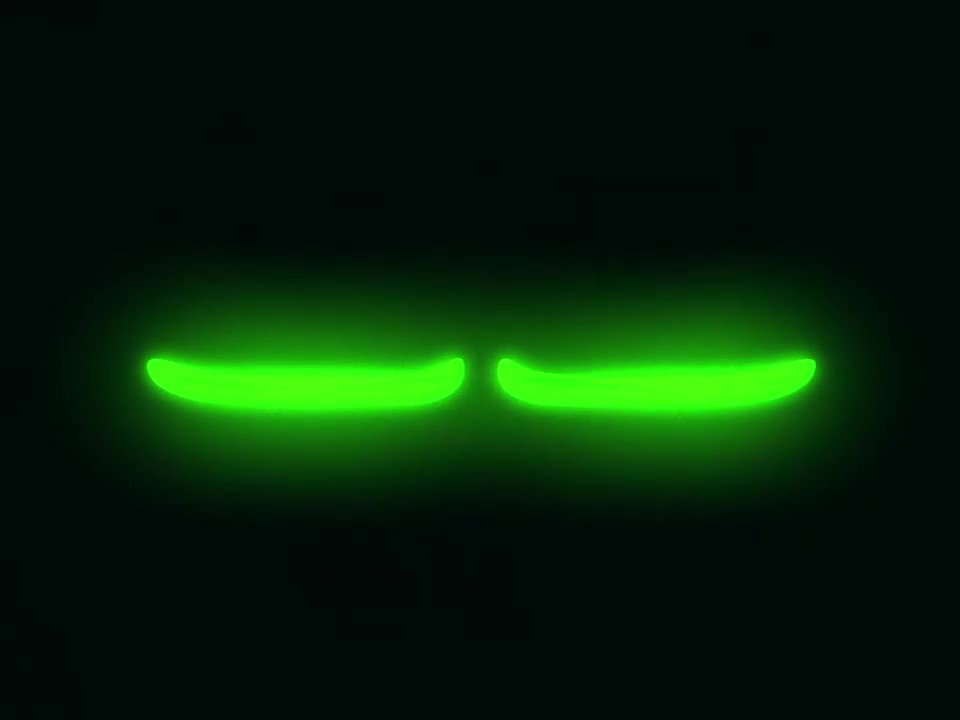
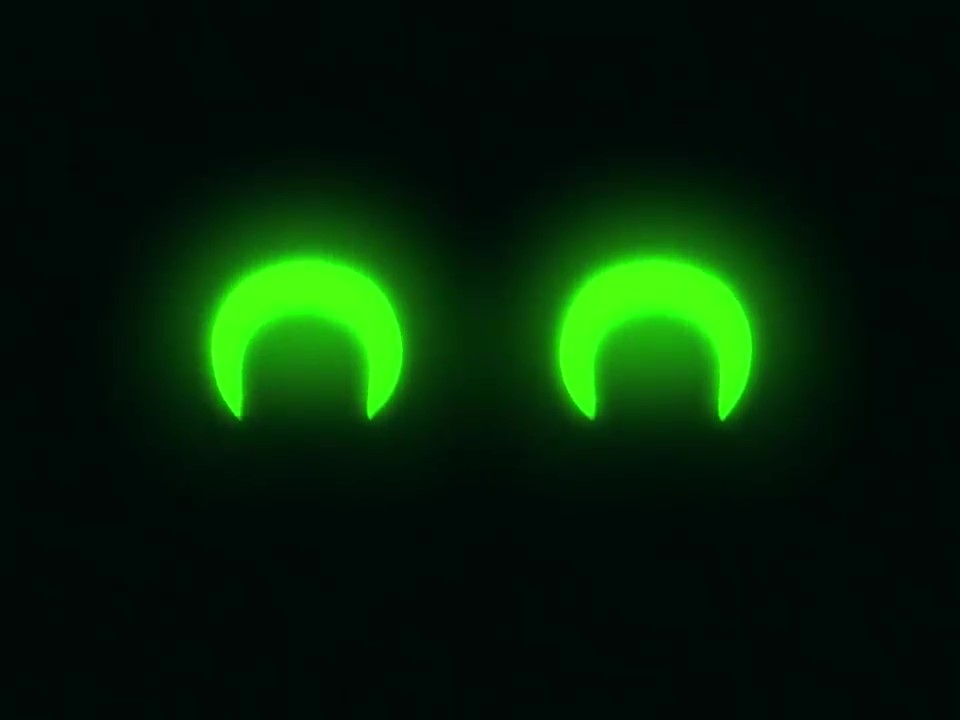
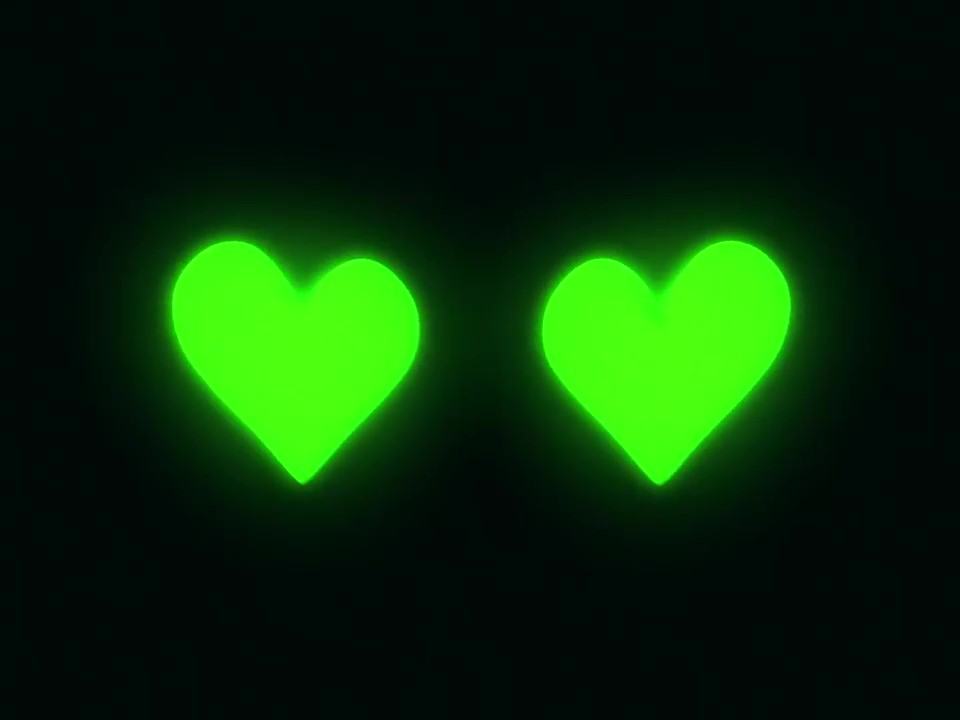
We could display each video at each condition through the code below.
Vid = cv2.VideoCapture('./smart_bot_expression/blink.mp4')
while Vid.isOpened():
    for (sx, sy, sw, sh) in smiles:
        cv2.rectangle(roi_color, (sx, sy), ((sx + sw), (sy + sh)), (0, 0, 255), 2)
        if flag == 0:
            Vid = cv2.VideoCapture('./smart_bot_expression/smile.mp4')
            flag = 1
        elif flag == 1:
            Vid = cv2.VideoCapture('./smart_bot_expression/heart.mp4')
            flag = 0
When the robot detects your smile, it alternates between a smile and a heart face. The below videos are the results what we did!
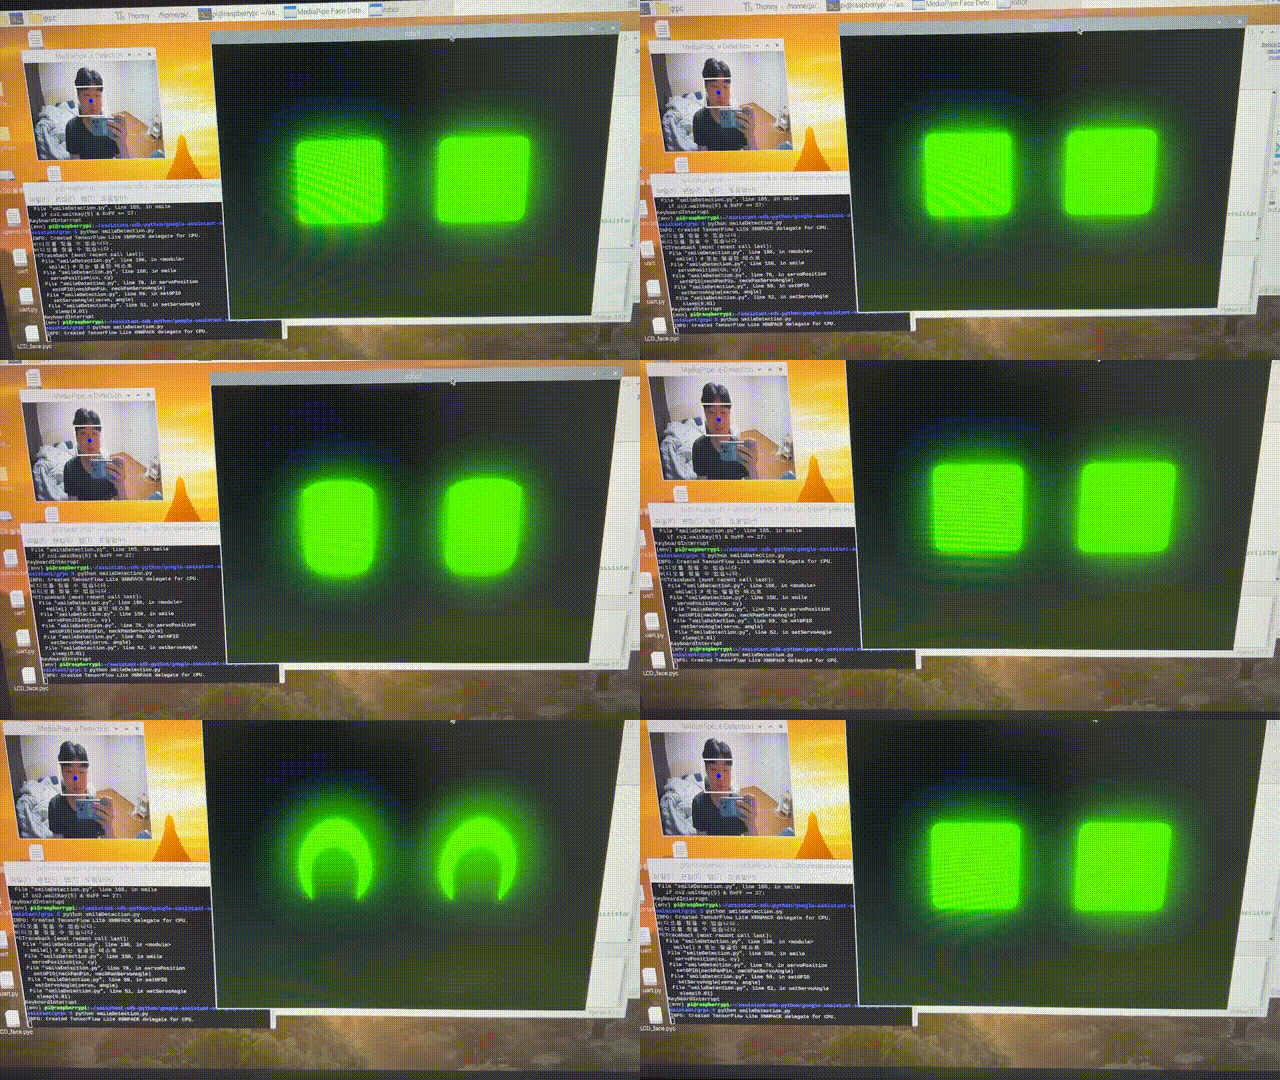
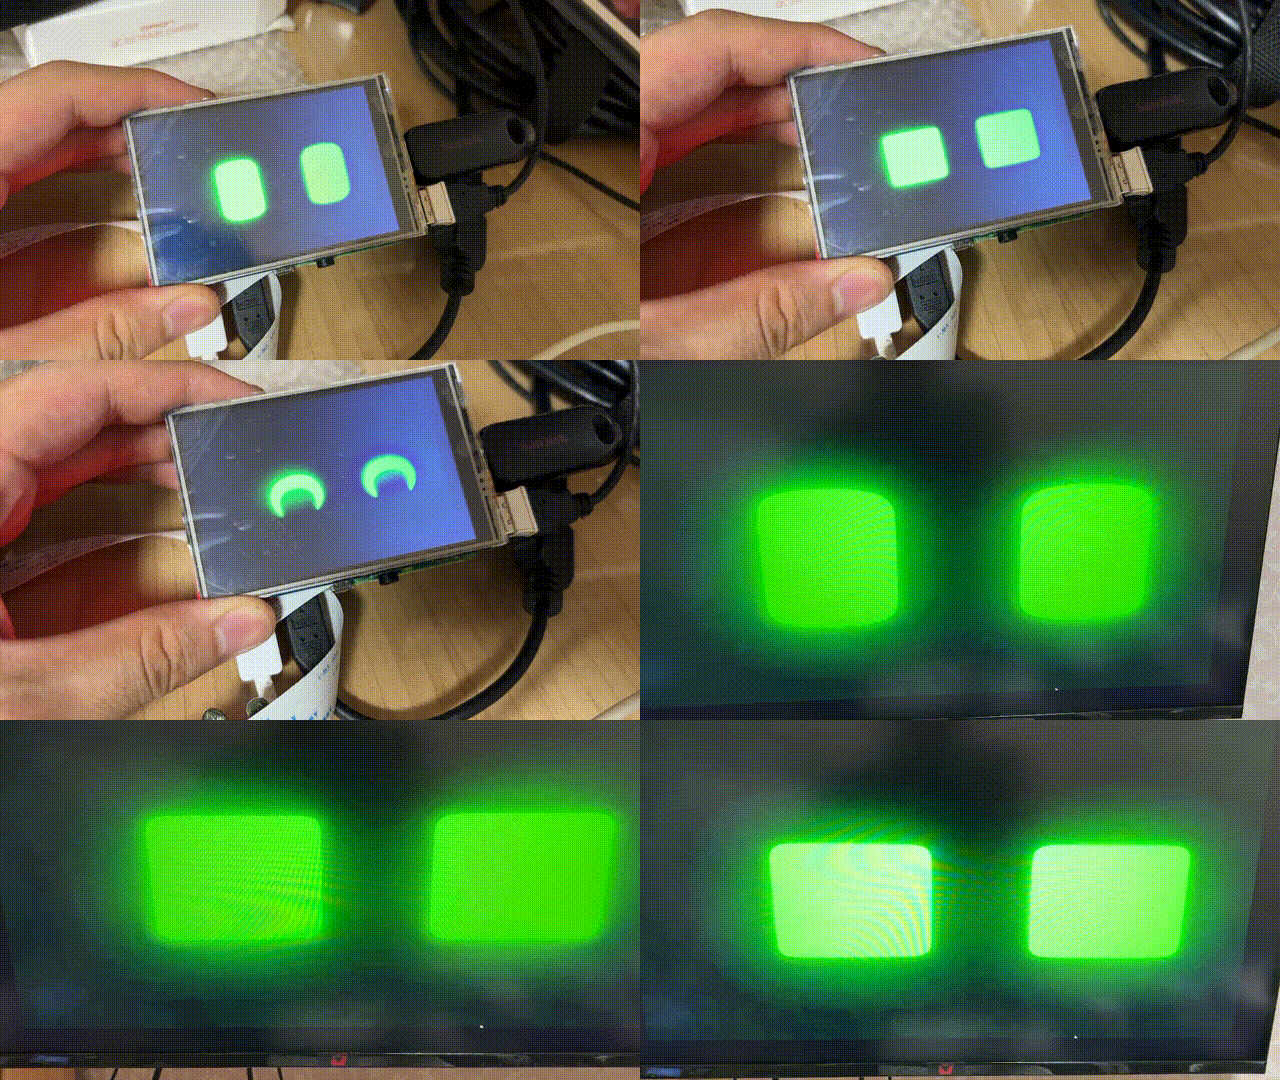
However, as you can see in the last video, the raspberry pi display shows quite slower speed than the computer monitor. We could improve the speed in the raspberry pi display by reducing color gamut. This can be easily done by following this insturction (Increased Frame Rate on a cheap Raspberry Pi LCD - Make Your SPI Display Playable). Look how it got better!
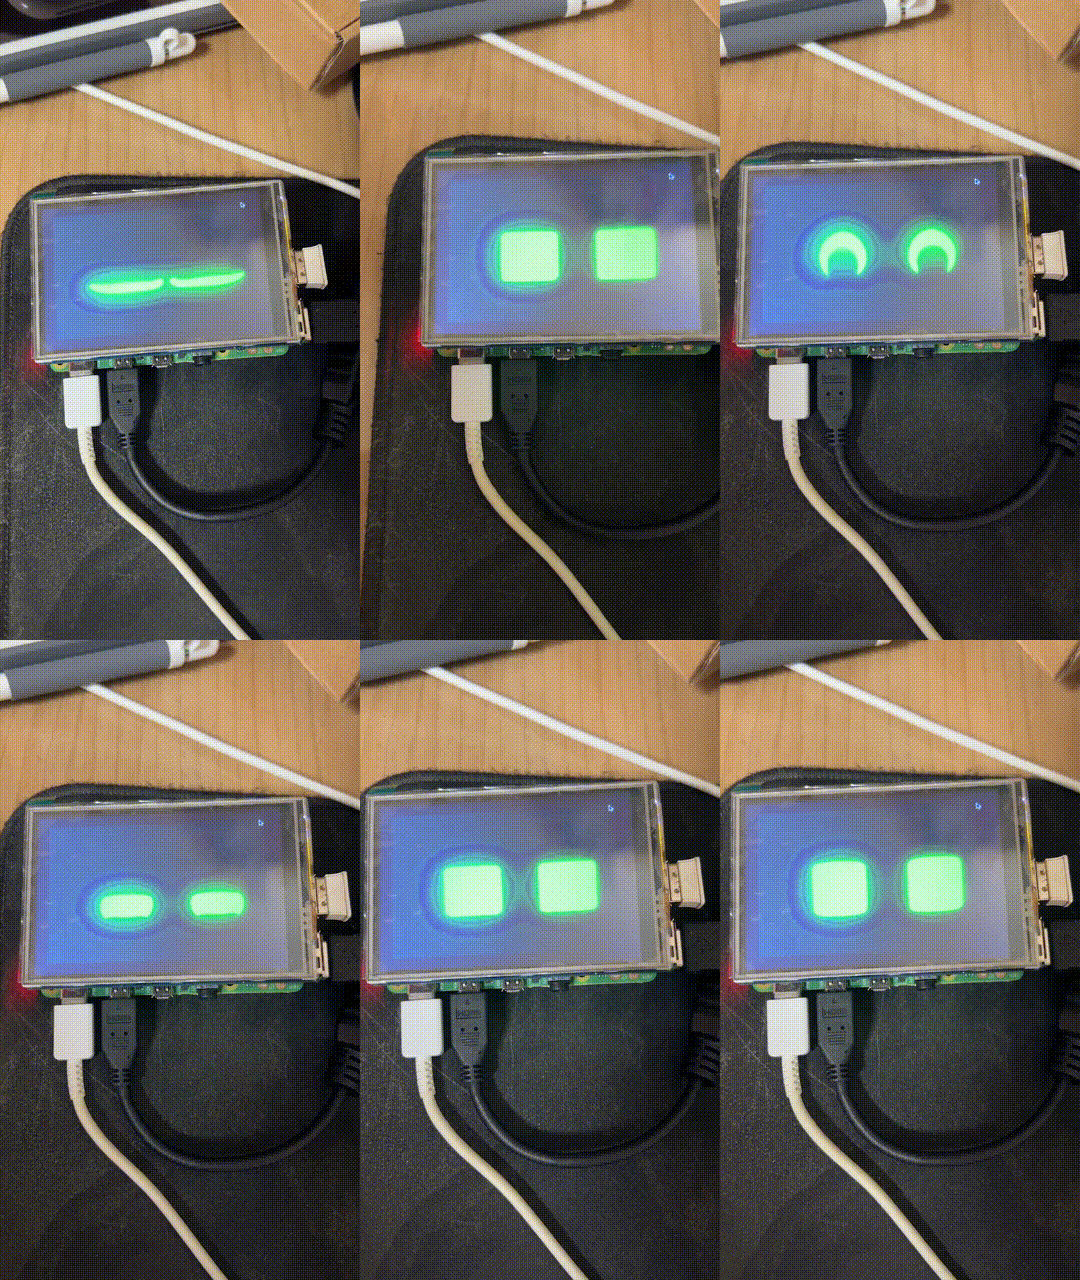
As you can see the above video, now it has more higher fps. The next step is making a 3D drawing file according to our new design sketch.
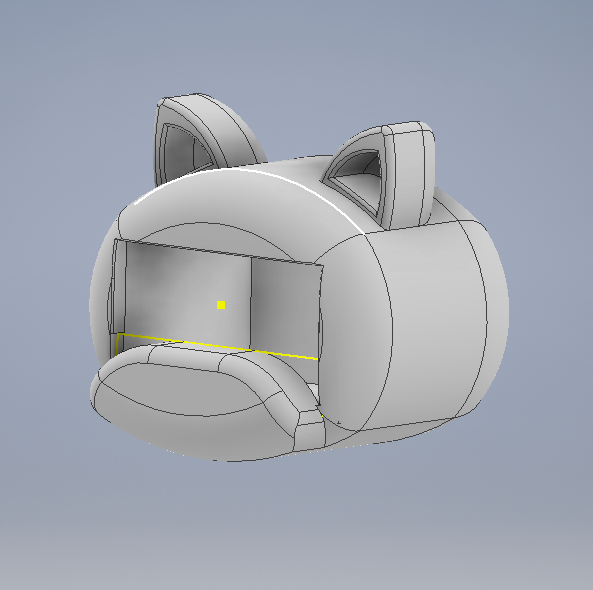
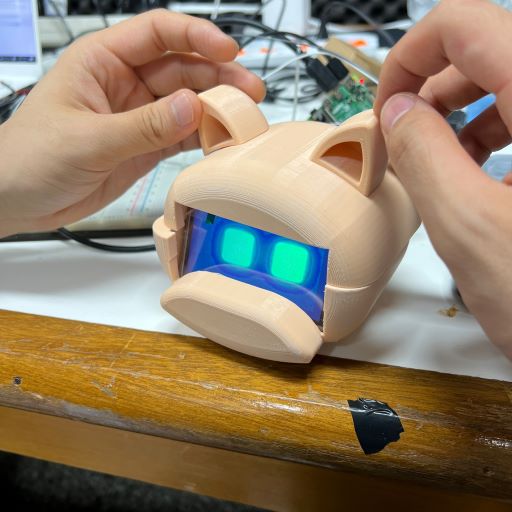
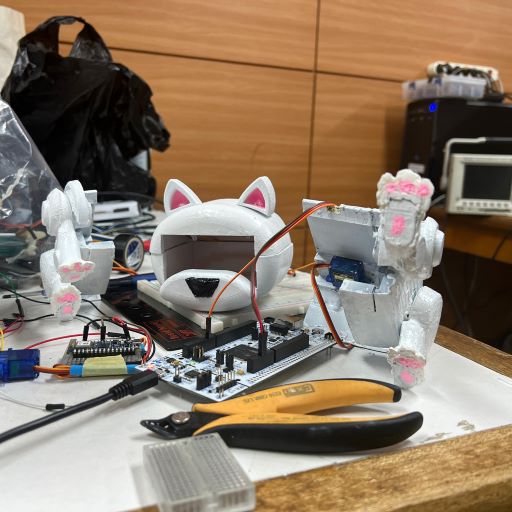
We printed the blueprint on 3D printer and dyed. I remember we had to dye the robot again and again to make it as much white as possible and that was really boring. After that, we added more functions such as motor drive, Google Assistant, wireless communication, etc., and finally created the Smart Pet Robot!
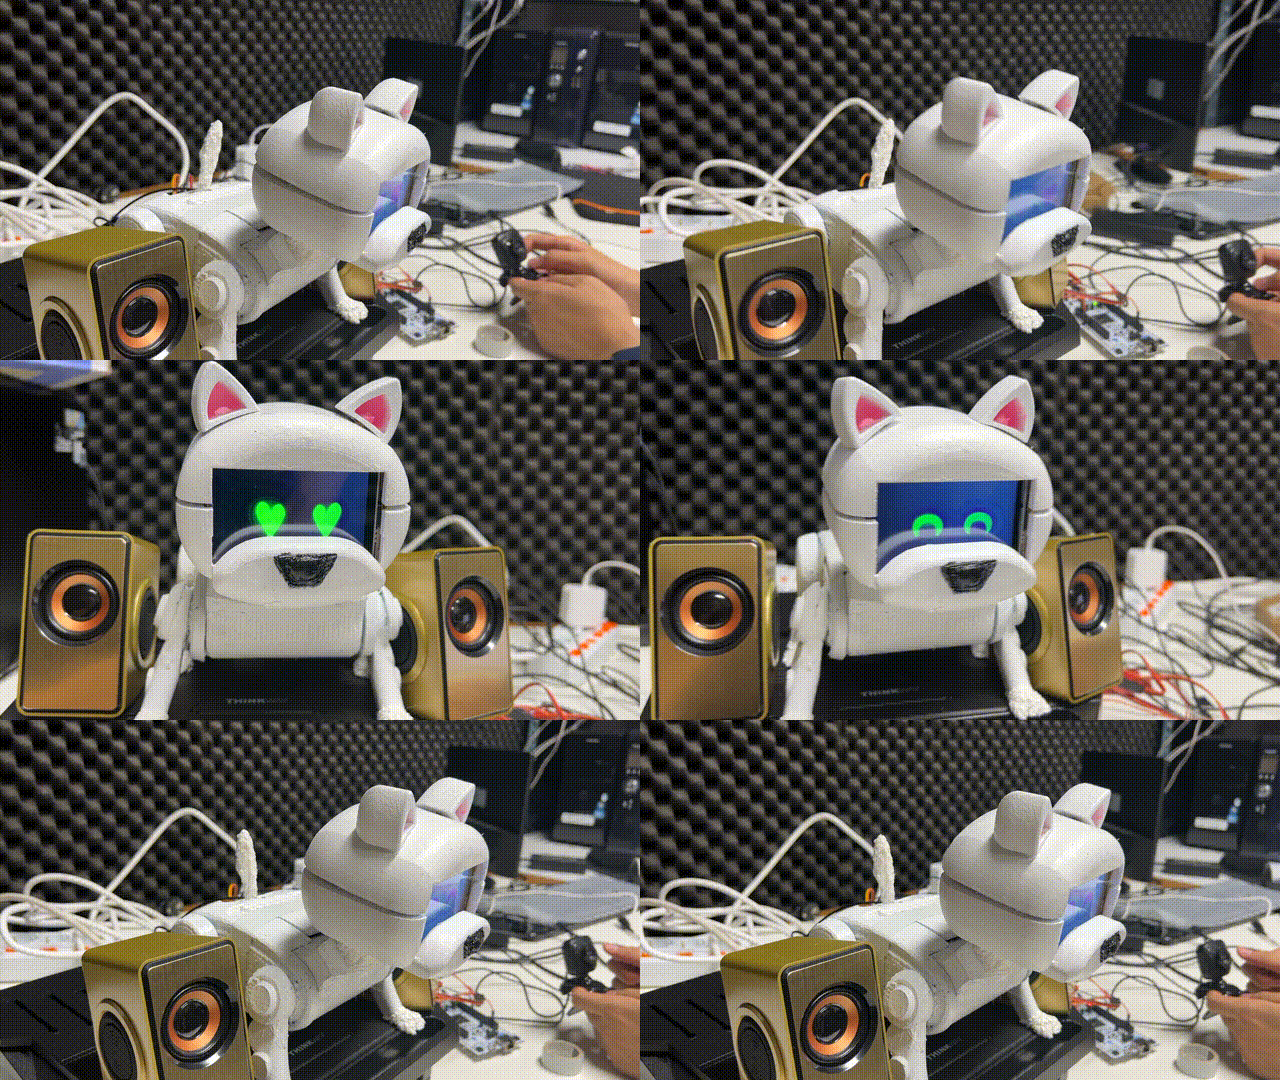
She wags her tail when we smile! I remember me and my friends were screaming when she operated well because it was right before the compeition deadline. After submitting the robot, we advanced to the finals where we had to demonstrate the Smart Pet Robot in person. But, unfortunately, some functions didn’t work properly during the demo, so we ended up in 4th place ;).
Nevertheless, I think this is the most meaningful project that I’ve done because my friends and me were able to grow further and build good memories through this project!